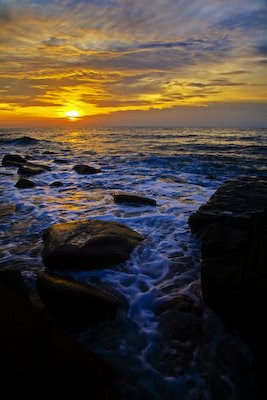
 I am going to be honest. I am not really a great fan of HDR images, I personally feel that they can sometimes look flat, artificial and lack the punch that I try to get from my images. However, a number of my contributors are now supplying a few HDR images and I have to say that if the process is carefully considered that in some instances HDR can look great. Personally I would still prefer to use ND grads in the field as I am already spending far too much time behind the computer screen and I still feel that grads look far more natural, but photography is all down to personal preferences.
But what happens when you are in Borneo and you realise that your NG grads are in Thailand? Hmm, I wonder who this could be? This was the situation I found myself in last year when I was photographing a sunset off the west coast of Sapi Island in Malaysia Sabah. This is one situation where HDR images are definitely not suitable - the crashing of the waves means that the various images required to form a HDR image will not be identical. So I couldn't use HDR and my grads were locked up in a hotel in Bangkok. There was only one choice - shoot to my heart contents whilst ensuring that I exposed all of the images with the view of preserving the high-lights. Then I could weave a little magic back at the Mac.

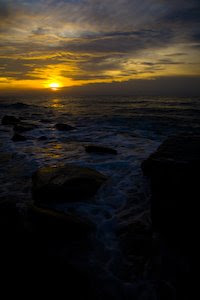
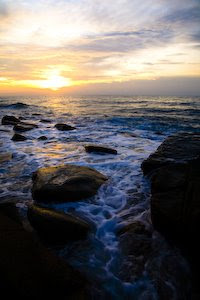
 Nearly a year later I have finally managed to be able to process the above image. The exposure was fairly simple - The band of cloud helped to shield the setting sun so it was easy enough to retain the details in the high-lights of the image. Once I had imported the image into Adobe Lighroom, I created a 'virtual copy' and then processed the two files very differently. With the first image I 'developed' the sky and with the second I concentrated on the foreground interest. This technique utilizes one of the great advantages of digital photography compared to shooting transparency film - a greatly improved latitude of exposure. Simply put this means that a digital camera will record more detail than slide film without loss of quality. Once I was happy with the settings for my two files, it was simply a case of merging them. Photoshop! I hear you scream... No, Lightroom!
Enter the LR/Enfuse plugin for Lightroom from Timothy Armes Photography. This plug-in, like the others available from the Timothy Armes website, was a breeze to install and just as simple to use. Now back to the two selected images, in Lightroom I selected 'File > Blend exposures using LR/Enfuse' and created a preview via the plug-in control panel. Once I was happy with the look of the image, I proceeded to click OK to create the full size file which I saved to a folder on my desktop called HDR. Then it was simply a case of importing the finished file into Lightroom.
So I am back to where I started. The image has worked and is a great improvement on the single exposure but I can't help but think that it would have been easier to achieve and possibly a superior final result through the use of ND grads. What do you think? I would be interested to read your comments!


